
Instagram has truly taken the creative business by storm! Nowadays, most business owners are sharing more and more photos in this platform, creating communities, building trust and meeting new people from all over the world. Because it’s a great space to show your images, your products, your services, and your work, we shouldn’t ignore the fact that our photos should matter when we post.
“They say you are only as good as your first nine images on Instagram.”
Why? Because when someone new visits your profile, what they will see is your first nine images and they will make a quick decision from that before carefully scrolling down to discover more. Now, if your photos don’t look good or your work doesn’t seem to have a more cohesive look, they will go away without even hitting the FOLLOW button.
There are so many ways to grow your Instagram following but for today, we’ll focus on editing your photos first.

For creatives, it’s very typical to take pictures of their work using iPhone because it’s easier, less work and you can directly post the pictures on social media. But before you post, pause for a while and think if there are still ways to turn your ordinary picture into a better one. It’s time you learn the power of editing using your mobile phones. We have tons of apps now that can help you with that so there’s no reason for you to not to.
You can download my go to Instagram apps here. It comes with a short tutorial.
Now, let’s turn this ordinary image into something better. For this tutorial, we are going to use A Color Story and Snapseed. You can download both of them for free. A Color Story comes with free tools and filters but they have more in-app filters you can purchase if you want more variations.
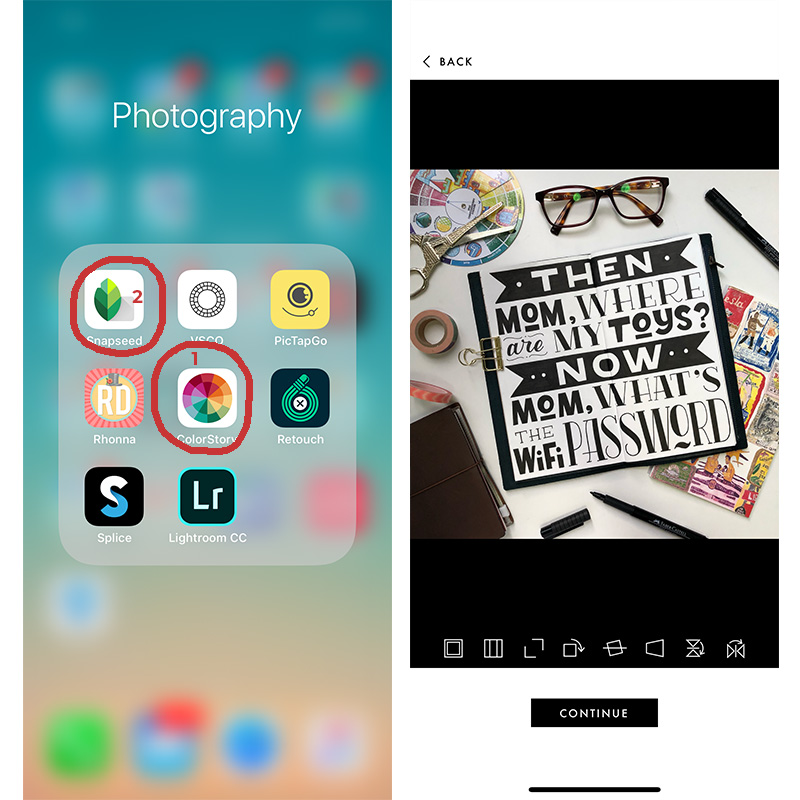
Step 1. Pull the image into A Color Story app
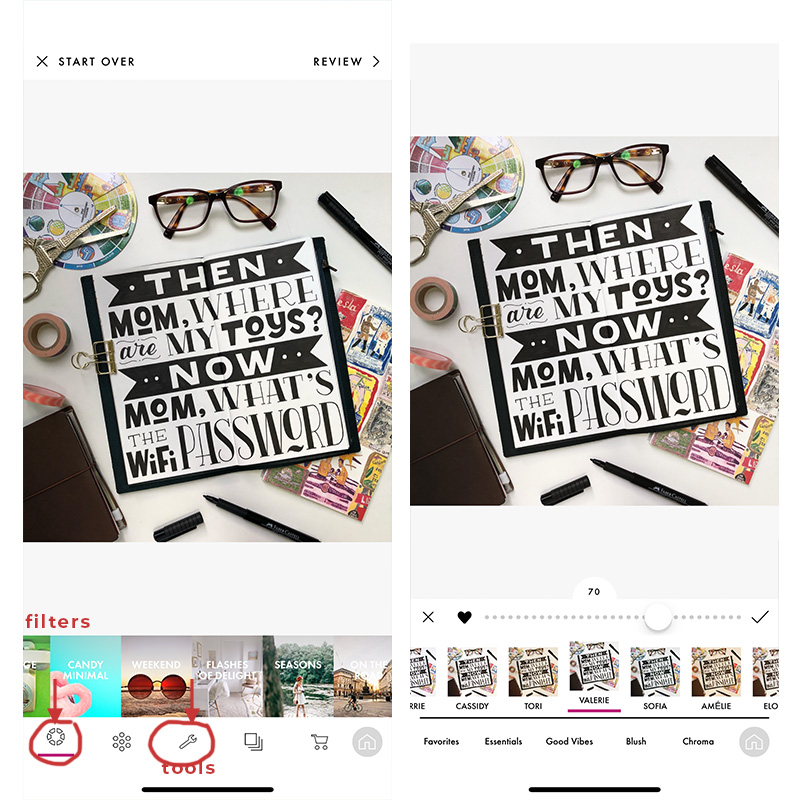
Step 2. Two ways to approach this step, you can either go straight to the Filters or go to Tools if you need some fine tuning before you add the filters.
This image was shot on daylight but you can see that the brightness isn’t balanced. The left side looks way darker than the right side. I did not need to adjust the cropping because it was a good square image from the get go so I went in straight for the Filters.
My favorite filter for indoor shots is Flashes of Delight. This is a paid filter but you can still make use of the free ones. Inside you’ll find Valerie filter which mutes the colors a little and adds brightness to the picture. You may use the scroll bar to adjust the intensity of the filter. I like it around 60%-75% depending on the image I took. You can try exploring different filters and try which ones you like the most.
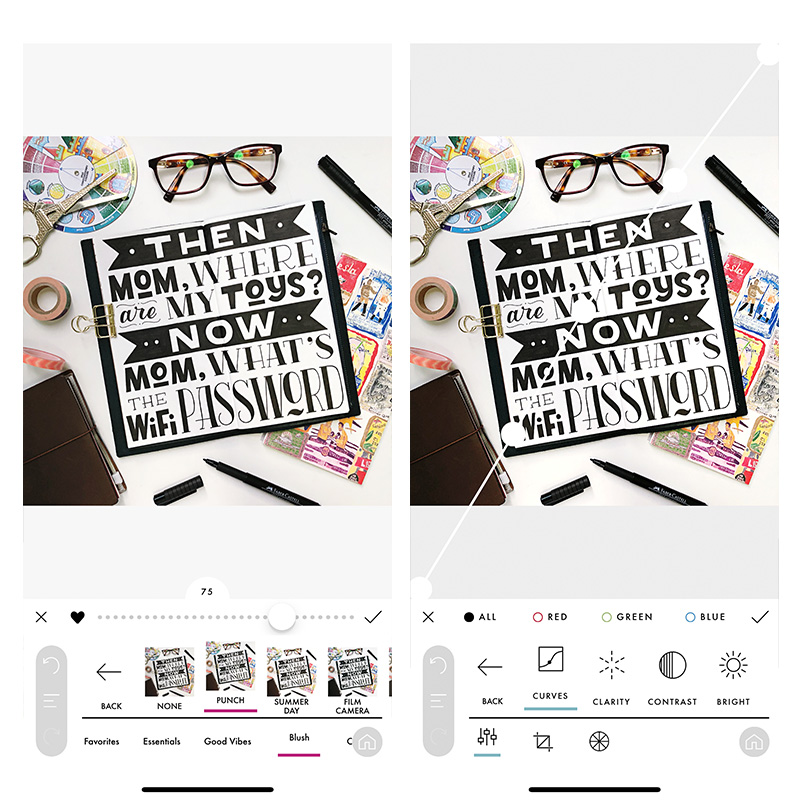
Step 3. You may stack filters and other adjustments in Tools like Contrast, Sharpen and this app has Curves in the Tools which is great for adjusting your midtones and highlights!
Warning: Do not overdo the editing. It’s great that you can stack filters and adjustments but too much can also ruin the quality of the image.
My combinations are Valerie (Flashes of Delight series) and Punch (from Blush series) and I adjust the intensity depending on the image. Sometimes, this edit is enough but as you can see even with the filters added, the left side of the image is still darker than the right.
For targeting, I use the Snapseed app.

Step 4. Pull up your image in Snapseed. For this one I’ll use the Selective tool.
There are other tools in there you can explore but this is what we’re going to use for now.
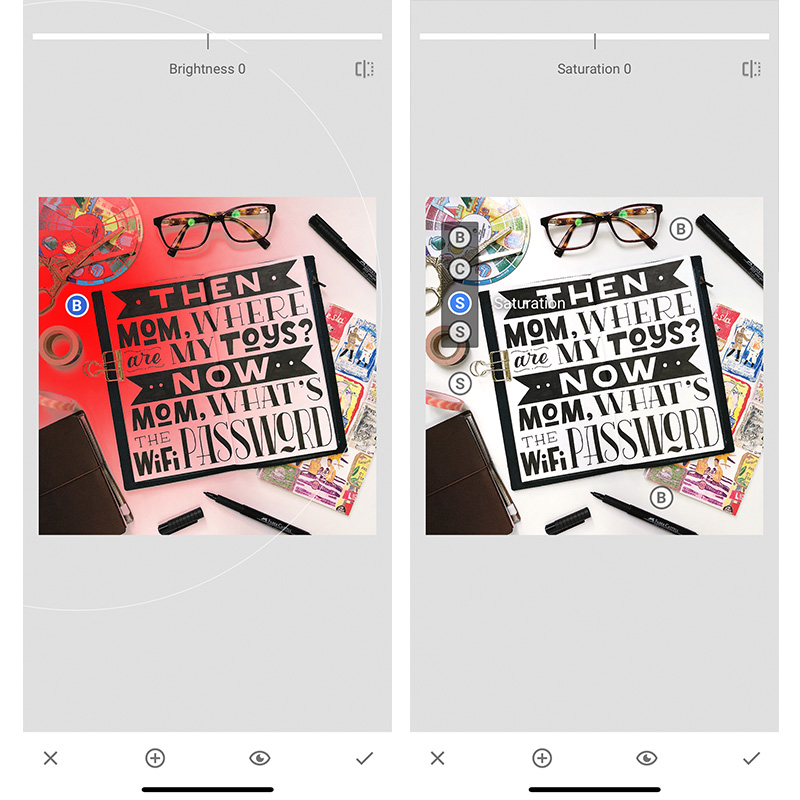
Step 5. Target the areas by clicking the + sign at the bottom and click the area you want to brighten.
For me, it’s the left area of the photo. When I hit the + sign and click on the image, I hit the white space to target the white areas that are darker. Use two fingers to zoom in and zoom out how far you’d like to target. Because I chose the darker white area, it will only select the whites in similar color tone (so you can use this method to target other colors too!). Scroll up and down to adjust the intensity of the brightness, contrast, saturation, and structure. For whites, I add brightness, reduce the contrast a little and reduce the saturation so it’s not overly bright.
If you noticed, I targeted the top right and bottom right areas too in order to balance the brightness in the image but I only did subtle adjustments.
Explore and see what makes it better for your image.
This is not a one-size fit all tutorial. You need to adjust things depending on your image but I have shown you the most common adjustments I do with my images.
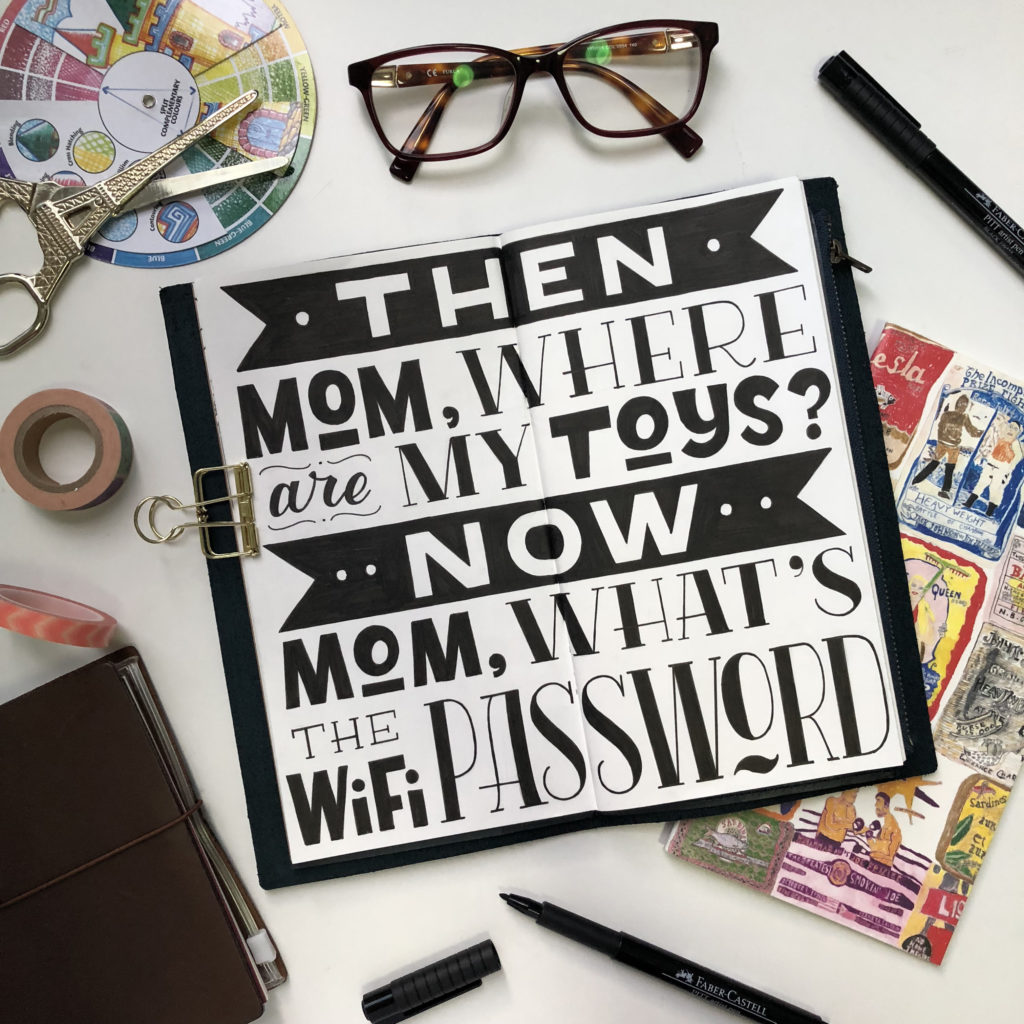
BEFORE EDIT
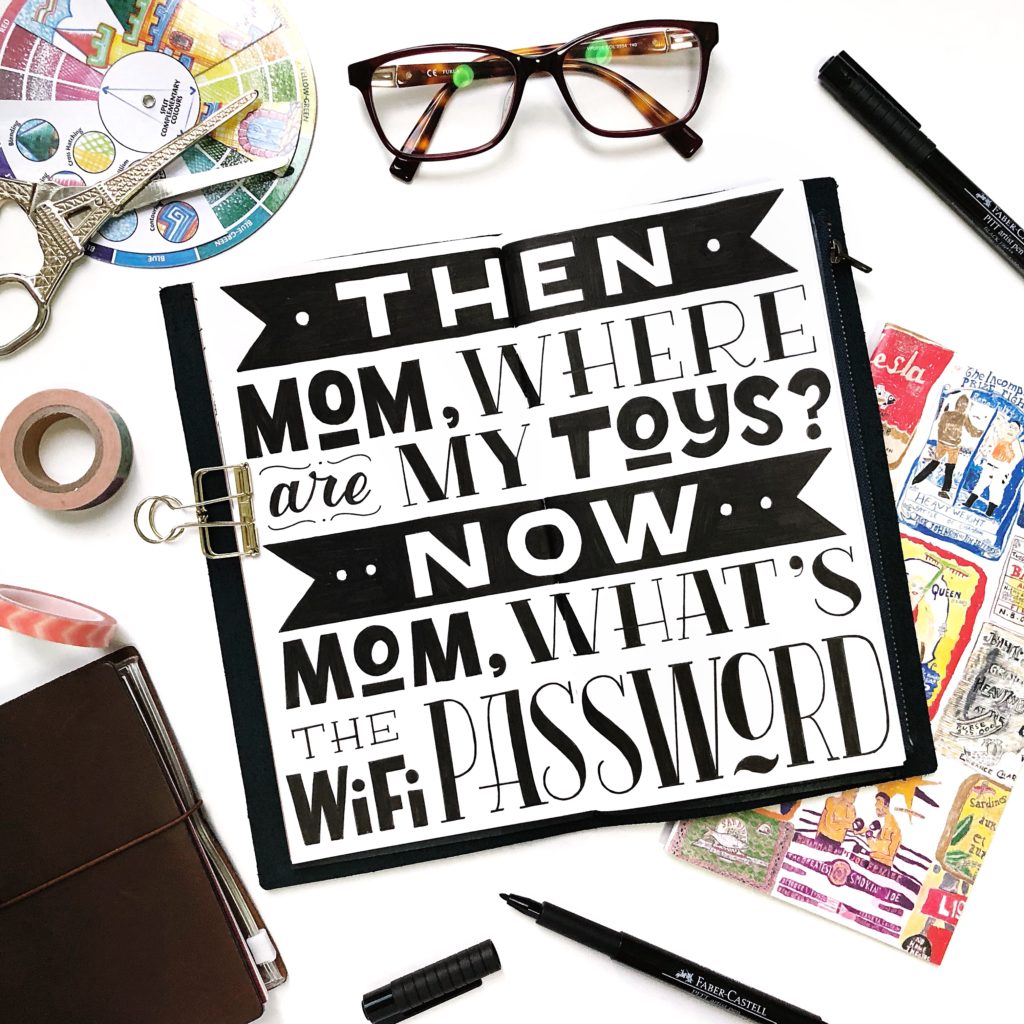
AFTER EDIT
See the difference? Sometimes we take pride in hashtag no filter photos and while I do not have any objections on that, if you are a small business owner who wants to gain traction you need to start editing your photos. The filters are there to make things easier for you especially if you have no advanced knowledge of photo editing like me!
Yes, I’m not a photographer. I’m just an ordinary business owner who loves taking pictures using my iPhone! As of this writing, I have not learned to use the DSLR.
A little nugget for you.
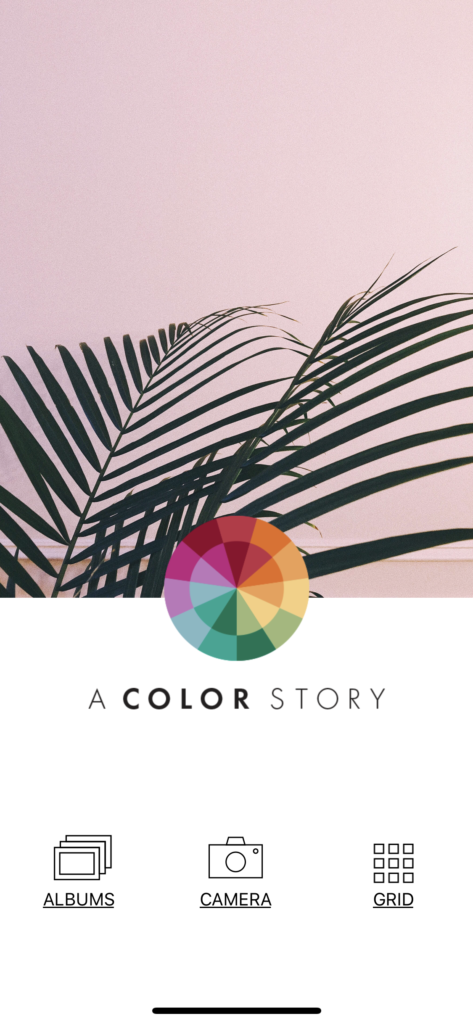
A Color Story app has a built in GRID! You can use that to plan your images! See below!
If you liked this post, please share it with your friends, leave a comment below and share what you liked most about it! I’d love to hear from you!

Thank you very much,this is a very useful post full of valuable information
You’re welcome.